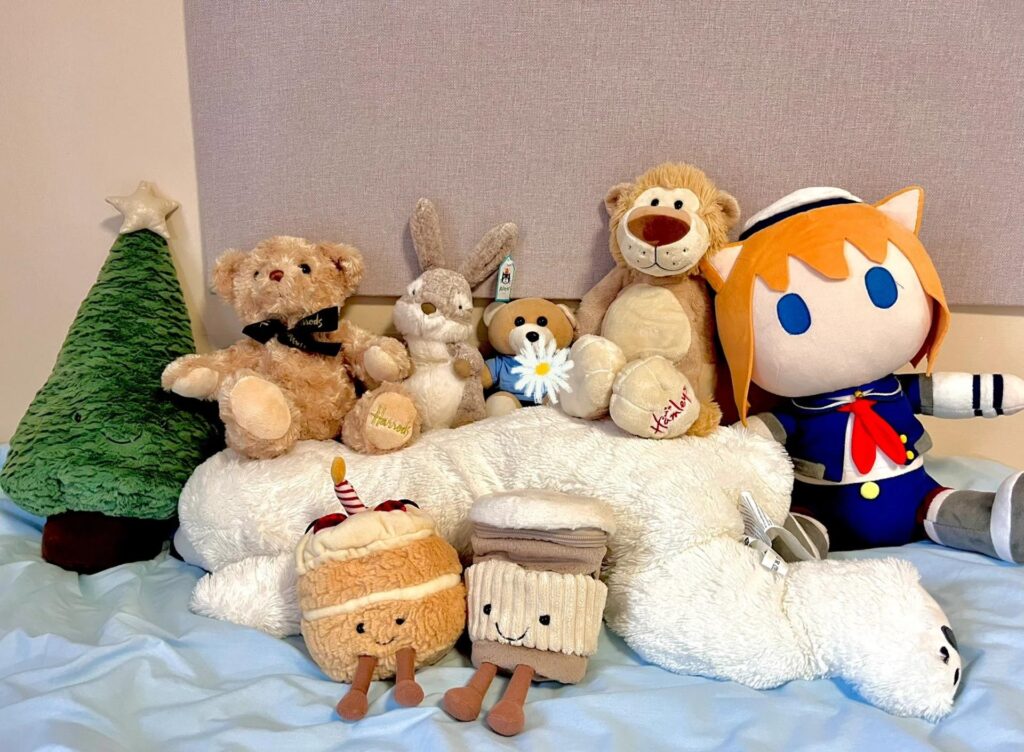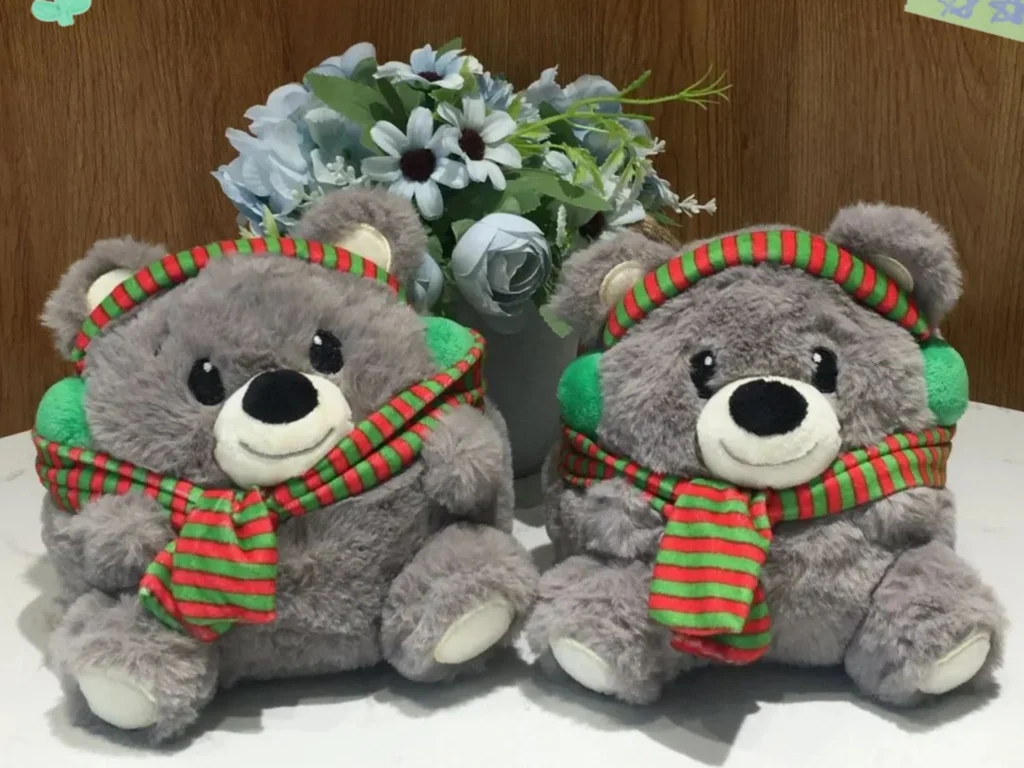
A custom plush toy sample is a physical prototype made before mass production. It allows buyers and manufacturers to check whether the design works as expected in real fabric—not just on a screen.
The custom plush toy sampling process usually covers design confirmation, pattern development, material selection, prototype making, sample review, revisions, and final approval.
For example, a character may look perfectly balanced in a 2D drawing but appear too large-headed or too heavily stuffed when made into a real plush toy. Sampling is where these differences can be identified and corrected before bulk production.
How Does the Custom Plush Toy Sampling Process Work?
A typical custom plush project follows seven stages:
| Stage | What Happens | Main Purpose |
|---|---|---|
| 1 | Design & artwork review | Make sure the concept is clear |
| 2 | Pattern development | Turn the artwork into a manufacturable 3D structure |
| 3 | Material & color confirmation | Match the intended look and feel |
| 4 | First sample development | Build the physical prototype |
| 5 | Sample inspection | Identify differences and issues |
| 6 | Revision & approval | Finalize the production standard |
| 7 | Production handoff | Use the approved sample as the bulk reference |
The exact process can vary depending on the design. A simple 20 cm plush may move through sampling faster than a detailed character with multiple embroidered features, accessories, or unusual shapes. The more complex the design, the more attention may be needed during pattern development, material selection, and sample review.
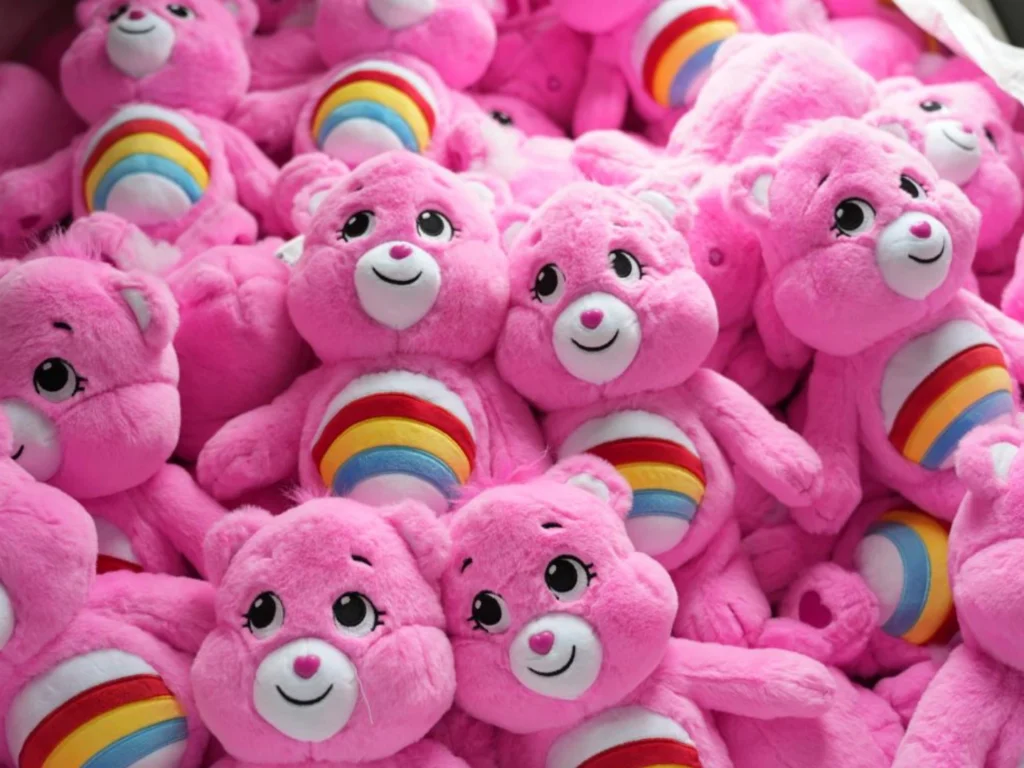
1. Design Brief and Artwork Review
Everything starts with the design. Before pattern development begins, the manufacturer needs to understand the plush toy’s size, shape, proportions, colors, facial details, and key construction requirements.
A useful design package may include:
- Front, side, and back views
- Target size and proportions
- Color references
- Embroidery or printing details
- Accessories
- Preferred materials, if specified
A front-view drawing may show the character clearly but still leave important details open. For example, an ear may look correct from the front but need a specific angle or thickness from the side. Clarifying these details early helps reduce unnecessary pattern changes later.
Key point: The clearer the design brief, the less interpretation is needed during sampling.
2. 3D Pattern Development
The next step is turning the 2D artwork into a manufacturable 3D structure. The pattern determines the plush toy’s proportions, silhouette, seam placement, and how the finished shape will hold after stuffing.
Key areas include:
- Proportions: Head, body, and limb relationships
- Shape: Overall silhouette and character form
- Seams: Where fabric pieces will be joined
- Stuffing: How much filling each section needs
- Balance: Whether the finished plush can hold its intended shape
A drawing is flat, but a plush toy is three-dimensional. For example, a character with a large head and small body may look correct in artwork but become top-heavy after stuffing. The pattern may need to be adjusted so the finished plush keeps the intended proportions and remains stable.
The goal is not simply to copy the drawing. It is to turn the design into a structure that can be produced consistently in bulk.
3. Material and Color Confirmation
Materials can significantly change how a plush toy looks and feels, even when the pattern stays the same.
Before or during sampling, the manufacturer may confirm:
- Plush fabric and pile height
- Fabric thickness
- Filling
- Fabric and thread colors
- Embroidery thread
- Accessories and labels
For example, short-pile fabric may give a character a cleaner surface and sharper embroidery, while longer-pile fabric can create a softer and fuller appearance. Similarly, softer filling gives the plush a more relaxed, squeezable feel, while firmer filling helps maintain a more defined shape.
The right choice depends on the character and the intended product experience. A detailed mascot with small embroidered features may benefit from a cleaner, shorter pile, while a soft collectible character may be better suited to a longer, fuller fabric.
The goal is not simply to choose materials that look good on the first sample. They also need to be suitable for consistent bulk production.
For more detail on plush fabric selection, see our Plush Toy Fabric Guide.
4. Developing the First Custom Plush Toy Sample
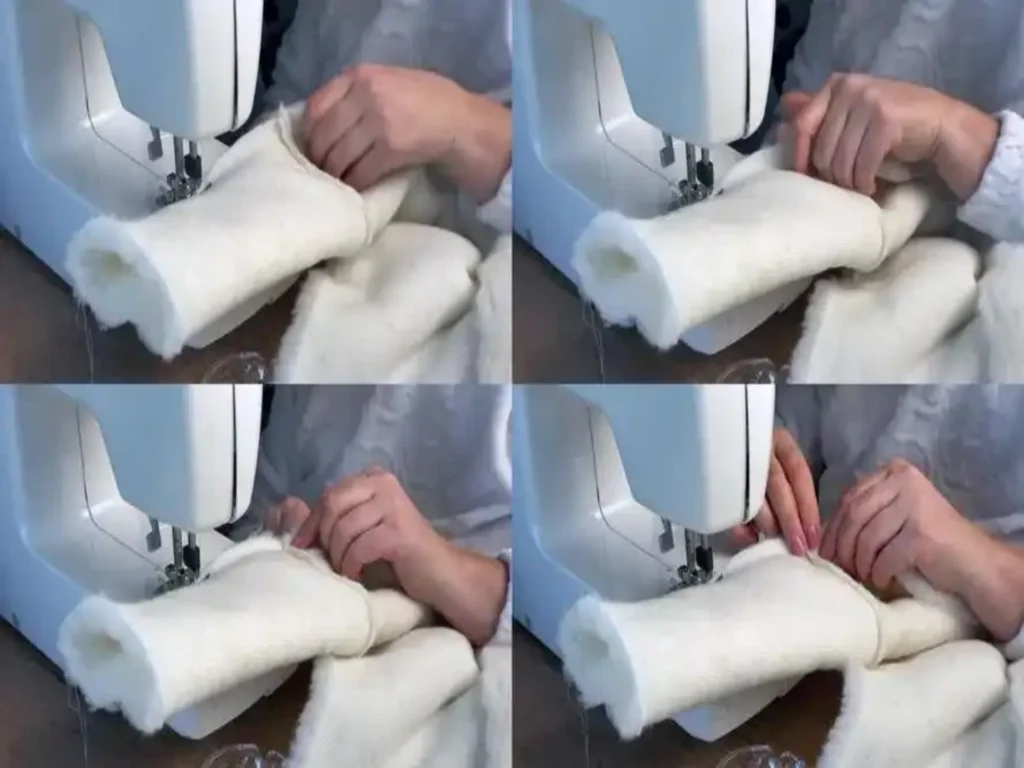
Once the pattern and materials are confirmed, the manufacturer starts making the physical sample.
The basic process is:
Pattern preparation → Fabric cutting → Sewing → Stuffing → Shaping → Embroidery or detailing → Finishing
At this stage, the design is being tested in actual fabric and construction. Some differences may only become visible after the plush is sewn and stuffed.
For example, a character may have a round head in the artwork, but the finished sample can look wider or flatter because of the fabric thickness and stuffing. An embroidered face may also look different once it is placed on a curved surface.
What Can Change From the Artwork to the Sample?
- Proportions: The head, body, or limbs may look different in 3D.
- Details: Embroidery or facial features may need to be repositioned or resized.
- Fabric: Pile height and thickness can change the character’s appearance.
- Stuffing: More or less filling can change the firmness and shape.
- Seams: Seam placement can affect the final outline.
These are the details buyers usually review on the first physical sample before requesting changes.
Buyer Tip: When checking the first sample, compare it with the approved artwork and measurements side by side. Mark the exact area that needs changing rather than giving general feedback such as “make it look more like the drawing.”
5. Inspecting the Custom Plush Toy Sample
Once the first sample is finished, compare it with the approved artwork and specifications. Focus on the areas that can affect the final product:
- Appearance: shape, proportions, facial features, embroidery, and colors
- Size: overall height, width, and key dimensions
- Material: fabric, filling, softness, and texture
- Construction: seams, stitching, attachments, and loose threads
For example, if the approved size is 20 cm, measure the finished sample rather than relying on visual judgment. For embroidery or facial details, compare their position and size directly with the approved artwork.
Buyer Tip: Take photos and describe the exact part that needs to change. Specific feedback is easier to apply than general comments such as “make it look better.”
For children’s products, applicable toy safety requirements should also be considered before final approval. Buyers can refer to the U.S. Consumer Product Safety Commission’s Toy Safety guidance for requirements that may apply to their products.
6. Revision and Final Sample Approval
The first sample may need adjustments before it is approved. Common changes include proportions, facial features, embroidery position, colors, filling, and accessories.
Example: A Head Proportion Change
Imagine a 25 cm mascot plush whose approved artwork shows a large, round head. After the first sample is stuffed, the head looks too wide compared with the body.
If the buyer only wants the embroidery moved 2–3 mm, the manufacturer may only need to adjust the embroidery position. But if the buyer wants the entire head reduced by 10%, the pattern may need to be changed and another sample made.
Buyer Tip: Try to confirm major design and structural details as early as possible. Once the main proportions and construction are approved, later revisions are usually better kept to smaller details.
After the required changes are completed, the buyer should check the final sample against the approved specifications and confirm it for production.
7. From Sample Approval to Mass Production
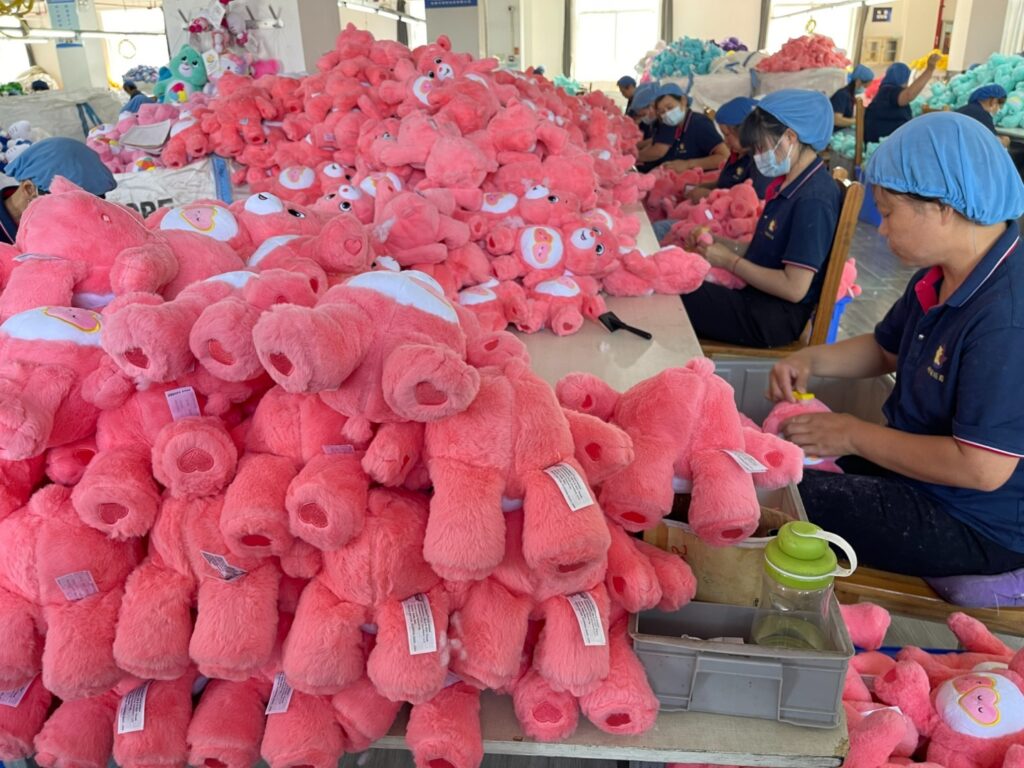
Once the final sample is approved, it becomes the physical reference for mass production. The manufacturer should follow the approved sample and specifications for the materials, dimensions, colors, embroidery, filling, and construction.
Example: Why the Approved Sample Matters
If the approved sample is 20 cm high with a specified fabric and fixed eye position, these details should remain consistent during bulk production rather than being changed during manufacturing. This helps avoid unnecessary rework, material waste, and production losses caused by last-minute changes.
8. What Happens If the Buyer Changes the Design After Sample Approval?
Once the custom plush sample is approved, the factory can prepare for mass production based on the confirmed version. Changes are still possible, but the later they are made, the more they may affect production.
For example, a buyer may approve the plush but later decide to change the packaging or an accessory. If production preparation has already started, the change may require additional materials, rework, or extra time.
| When the Change Happens | Typical Impact |
|---|---|
| Before sample approval | Normal sampling adjustment |
| After sample approval | May affect production preparation |
| After production starts | Higher risk of rework or delay |
Buyer Tip: Try to confirm major design and structural details as early as possible. Once the main proportions and construction are approved, later revisions are usually better kept to smaller details.
FAQ
1. How many samples are usually needed for a custom plush toy?
There is no fixed number of samples for every project. A simple design may be approved after the first sample, while a more complex plush may require one or more revisions before the final version is confirmed.
2. Can I request changes after receiving the custom plush sample?
Yes. Buyers can request changes after reviewing the sample. The impact depends on the type of change: minor detail adjustments are usually easier to handle, while changes to the overall design or construction may require another sample.
3. How much does a custom plush sample cost?
The sample cost depends on factors such as design complexity, size, materials, embroidery, accessories, and the amount of development work required. Sample pricing is also different from mass production pricing because a prototype is made in a small quantity and requires individual development.
4. How long does it take to make a custom plush sample?
English
At Wehaoplush, a standard custom plush sample usually takes around 5–10 days, depending on the design and construction. Designs with more detailed embroidery, accessories, or complex shapes may require additional development or revision time.
5. What happens after the custom plush sample is approved?
After the final sample is approved, the factory can move forward with mass production based on the confirmed design and production requirements. The approved sample serves as the physical reference, while the confirmed specifications help maintain consistency throughout bulk production.
From Sample Approval to Your Custom Plush Toy
Once the custom plush sample is approved, the project can move toward mass production. If you want to understand the complete journey from the initial idea to the finished product, see our How to Make a Custom Plush Toy in 6 Steps guide. If you are ready to develop your own product, explore our Custom Plush solutions.
Ready to Develop Your Custom Plush Toy?
Have a design or character idea? Share your requirements with our team to start your custom plush project.